What kind of paint do you use for a garage door?
There is no such thing as ‘garage door paint’, but because these doors get beat up, paint on a garage door tends to die young. The good news is that there are ways to make the painted garage door last longer with correct prep and high-quality paints. I also have some tips and special cases for you too.
The key to a long life for your garage paint is the bond created by the primer, and we’ll show you the best: anything else would reduce the lifespan of the paint job and end up costing more time and money in the long run.
Just remember, prep is the most important part.
- Garage door paints and primers with integrity
- How to paint garage door like a pro
- Painting a Garage door: Tips and a look at common problems
1. Garage door paint and primers…with integrity
Exterior paints are different from interior paints in that they are softer. Yes, it’s true: they need to expand and contract. The best paint companies work hard to make their paint very flexible and that takes research, patents, and money. The lower-priced paint comes from companies that don’t go the distance. Neither does their paint.
We tell every customer that you save more money in time and materials by using the best quality you can afford.
 How Much Primer and Paint to Buy? For a double garage door, you will likely only need a quart of primer. If you tend to do lots of projects and want leftovers, a gallon costs only about twice as much as a quart: they get ya! Just seal the can well: keep paint out of the lip. Don’t use the can you plan to keep and store as your ‘cut bucket’. Brush out of an empty can you can spare.
For the topcoats, you’ll need a gallon, for 2 coats on a double or single car garage door. This is because it goes on so much thicker then primer.
The Best Garage Door Paint and Primers for All Kinds of Doors
These all have an outstanding lifespan even when baked by the sun. Caution about color: dark colors heat the door and shorten the life of the entire door, not just the paint job!
Paint recommendations:
 Ben Moore’s Contractor grade “Ultra Spec” is still the best value for your money. This is the very paint we recommend to our customers. It is the same paint as the higher grades of Ben Moore.
- Comes in any color of any paint company, so if you know your old color from another store, you just send this info when you order.
- Comes in satin (use photo link: it’s typical of most house siding), a full gloss, (typical of most exterior trim), and a flat finish, (sometimes used on house siding, rarely doors).
- Cleans up with water (I don’t use soap!)
 An outstanding marine paint in 21 colors: TotalBoat Wet Edge Topside Paint. This is a polyurethane that is designed to be submerged in water (for under 72 hours at a stretch).
Only available in high gloss, except gray, black and white which comes in a flat.
Cleans up with paint thinner (mineral spirits: best value at the bottom of this page).
 Rust-Oleum’s Marine Topside paint is getting rather famous.
This is not paint for below the waterline, but it is intended for boats and exteriors. It’s extremely thick out of the can so we do thin it just a bit for good leveling (mineral spirits linked above).
- Like most marine paints, it comes in gloss only.
- Nine colors.
- Dries fairly fast
- Cleans up with paint thinner (mineral spirits).
There is also a wood simulation paint called Giani Wood Look that we have never tried. It’s intended for garage doors and it’s water-based. You apply it in 2 steps. Comes with tools to do the work. Let us know how it goes if you try it!
Primer recommendations for every type of door
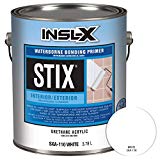 The go-to primer for garage doors is the one and only STIX from Ben Moore. There are other makers selling ‘bonding primers’, but we seriously doubt they have put in the research that went into STIX. It’s well-named: it really sticks. We put this on EVERY garage door before the topcoats.
But your door may have a composition such as metal that needs some extra work before you get to the primer. It’s always good to do a test spot, let dry fully, then see if you can scratch it off easily. Being soft, it may come off, but you should be able to tell if it bonded.
 How do you prepare a metal garage door for painting?
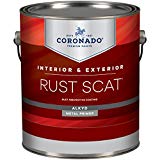
Metal doors with factory primer get a full coat of, and pre-painted doors get spot-priming of Coronado’s Rust-Scat from Benjamin Moore. It’s the only metal primer we use. We simply want our work to last as long as possible. Comes in colors: a gray is recommended if your door will be red or brown. Otherwise, white is usually best. Cleans up with paint thinner (mineral spirits, shown just below).
Full details on preparation are below, but here is the primer method for metal:
- Sand any rust spots. wipe clean, and ‘spot prime’ these with Rustscat. This stuff dries in a heartbeat. Drip on the pavement and you’ll be sorry! I know.
- Prime the entire cleaned garage door with STIX (after all the prep – see below).
Vinyl doors
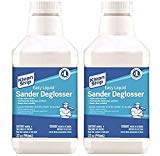 First time painting this garage door? Degloss: you’ll want the 2-pack shown. Be sure to read about de-glossing in the prep section below. If your door has never been painted OR has been painted before and you have bare spots (original vinyl), sand and/or degloss, clean, and prime those spots with STIX. When that dries, it’s best to create a superior bond to your topcoat with a full coat of STIX over your old paint (or bare vinyl), then you can paint away.
Fiberglass doors
The same treatment as vinyl doors above.
Old wood doors that were already painted: after the perp described below, we prime the entire door with STIX (photo link above) and two coats of your paint of choice (please read the sections on color, and so on).
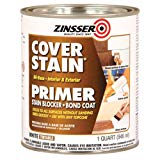
New wood doors: Your best primer for new exterior wood is Zinsser Cover Stain which takes care of all wood knots that would bleed through most other primers. The bonding properties are nearly the same as STIX, which you can use in 5-10 years (or more) when you need to repaint.
Galvanized parts: galvanized parts you want to paint should first be prepped by wiping with a solvent
such as acetone, Xylol (Xylene) or this eco-friendly substitute or methyl ethyl ketone.
Sheen
In almost all cases, we use sem-gloss or low-luster garage door paint: these are the two sheens typically in use on the rest of your house. Low-sheen for the body and semi-gloss for the trim. More glossy paints are easier to clean. Doors are typically painted semi-gloss for easy cleaning, but garage doors are equally likely to be satin or low-luster (rarely flat sheen).
Coloring:
There are two schools of thought: trim color and body color.
In general, if you want to call attention to any attractive feature of your house, paint it a contrasting color. If not, it will blend in if it is the same as the rest of the house. Dark colors hide flaws and bright colors make flaws stand out, but never use a dark color in a garage door paint that will be in direct sunlight.
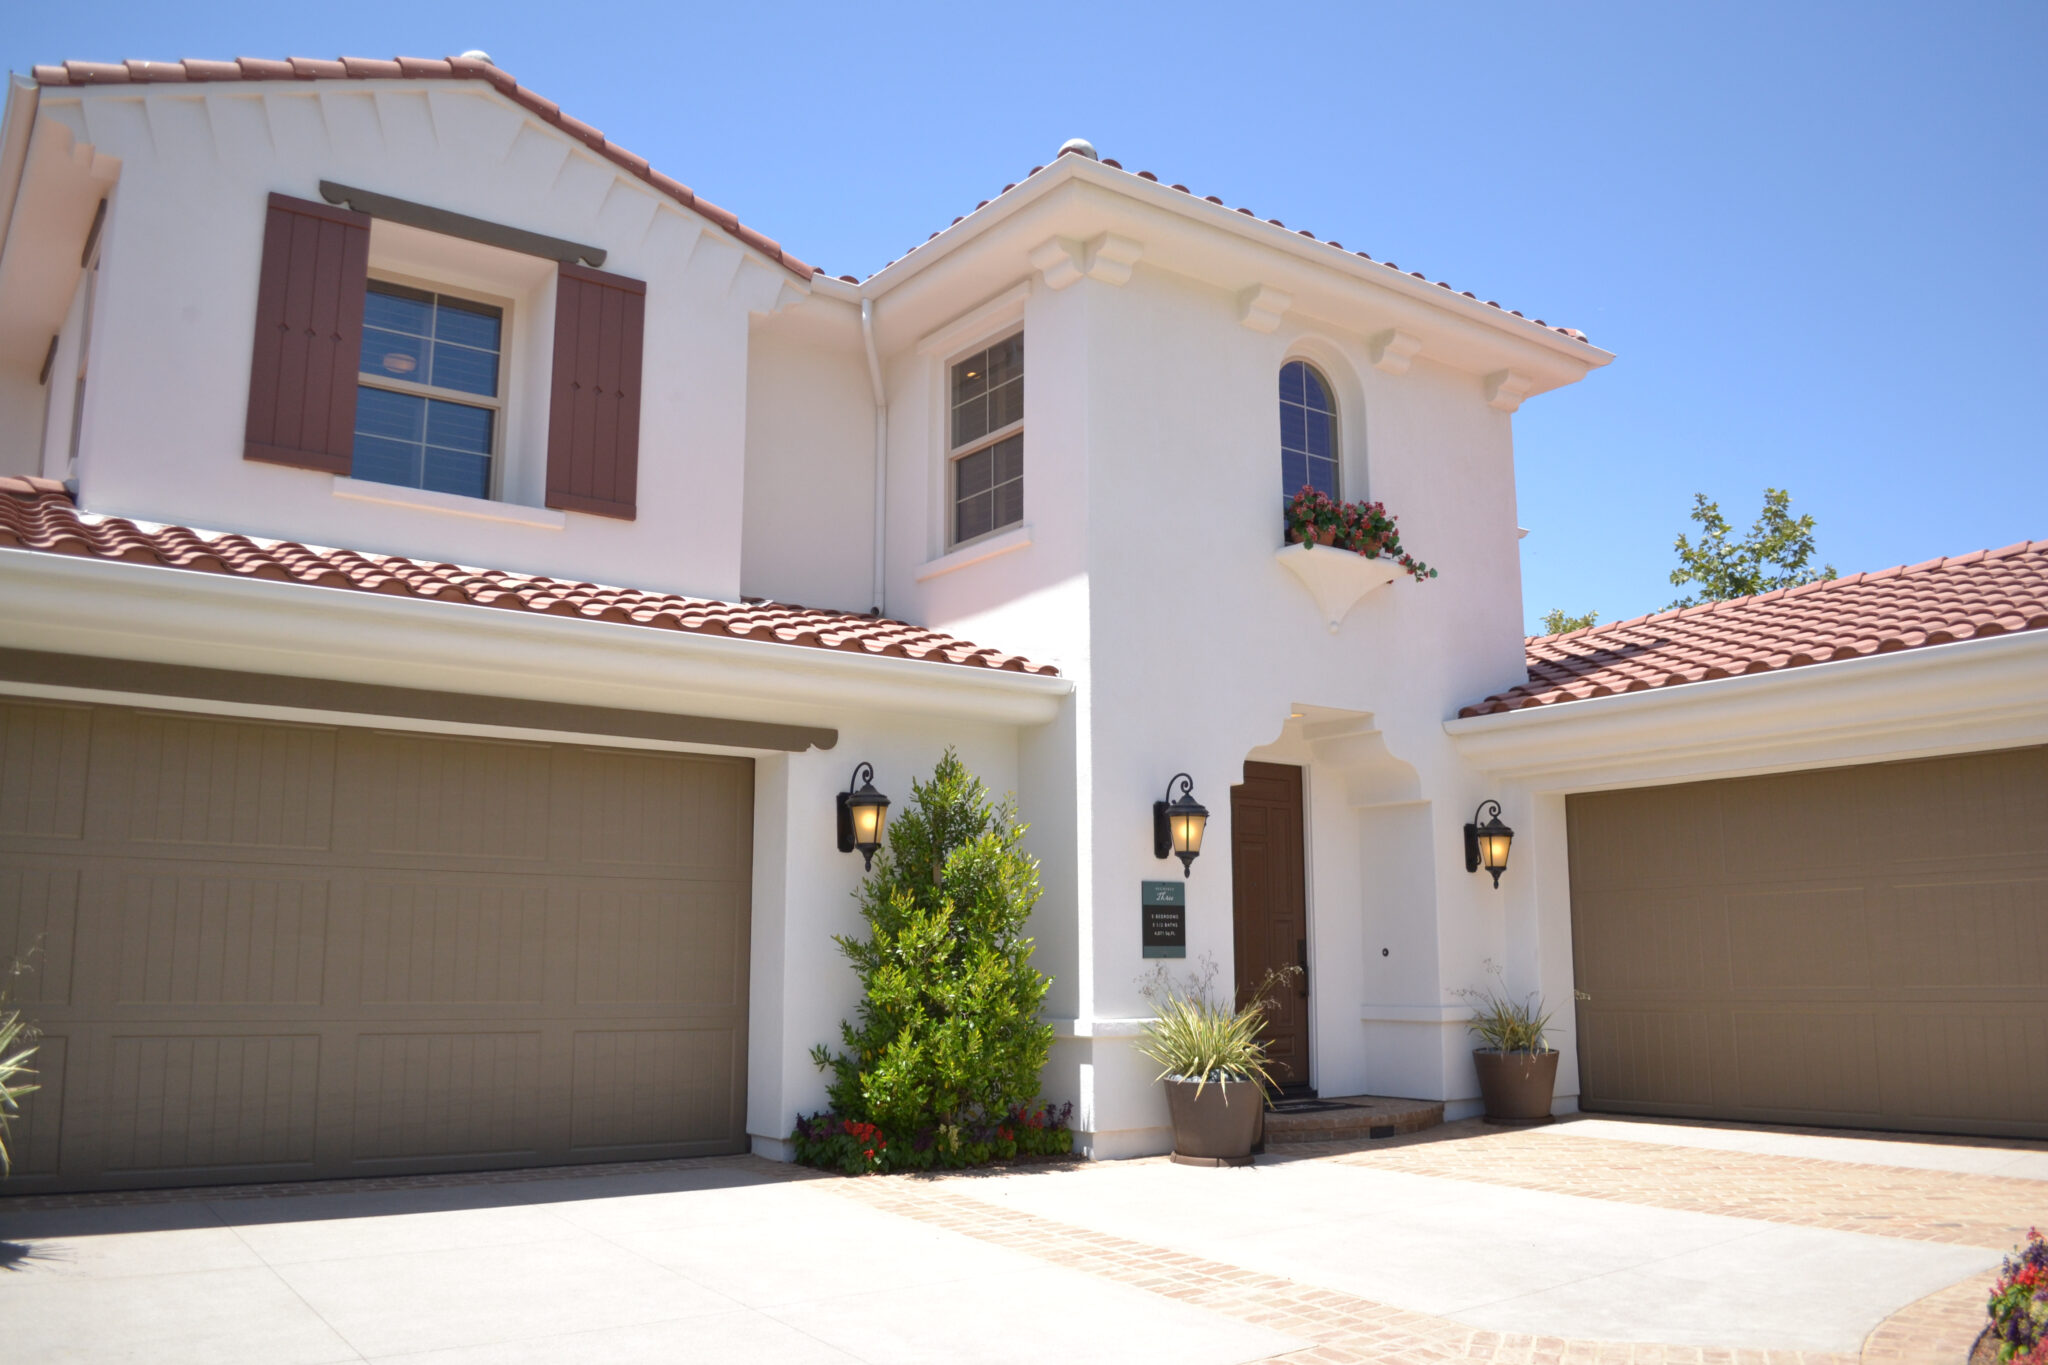
Have a look at this yellow garage door paint! Yellow? Please, spare me. What were they thinking?
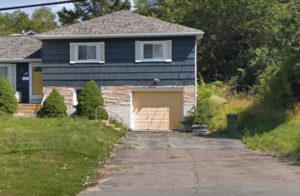
Look at the brown door in the photo at the top of this page. Does the brown draw your eye away from the gorgeous roof? Sure. Why did they want to call attention to the garage door paint? (Also the darkness of the brown is probably too dark to be in the sun).
Look around your neighborhood and see which way you like it best: trim color or house body color.
2. How to paint a garage door
The basic steps (details below):
- Scrape any old paint from the garage door
- Sand all: even brand new doors
- Clean very well, rinse twice
- Lay out drop cloths
- Release auto opener to move manually
- Prime and paint the garage door from the top down, edges first
- Key Point: never let two sections of the garage door touch when wet.
Painting a garage door is not as hard as you may think, but it has to be done properly so the panels do not stick to the weather stripping and to each other…and pull off your paint.
BIG TIP: dollar-store rollers and brushes shed bristles and lint shedding into your finished paint. Trying to save money can be very expensive! Here, we’ll link to lifetime tools (and how to easily clean them).
Start by unhooking the automatic garage door opener. Here is how (Youtube). There is another video at the bottom of this page that shows how thieves use this method to gain entry to your house…and how to defeat them.
Now that you can move the door by hand, you are ready. Some doors are too heavy, so you’ll have to use your remote carefully to stop the panels in just the right spot so they don’t touch (described just below).
Prep is Everything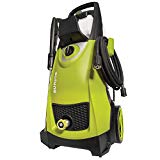
A big head-start on the prep is pressure washing, even on new garage doors. You can accomplish some of the prep with a garden hose but it’s slow and not very effective. Here is our baby. Ah, Sun Joe, is there anything you can’t do? Old Joe paid for himself on day one. Click on the image to see this baby. Be sure to order the rotating tip: this protects the surface from damage from a long intense blast of water. It also washes the car.
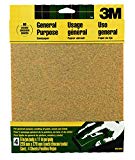
 Scrape: Your pressure washer will remove 80% or more of the old garage door paint that is ready to come off. Even without a washer, old loose paint should be scraped off, obviously. Whatever old paint is ‘tight’, just feather sand the edges with some 80-grit, then fine-tune the edges with some 150-grit sandpaper. Create a methodical system so you don’t skip any spots.
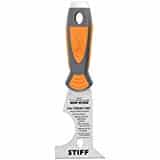
The multi-scraper shown here has a curved blade to squeegee roller covers to remove paint when cleaning. All the edges/blades have a use for a painter.
 Sanding garage door before painting: Even for new doors, this is a must: you need good bonding or ‘bite’ for your primer. For a new metal door, just lightly sand with 220 grit paper. The tiny scratches create the proper bond, even if you don’t use STIX. If the door has an orange peel texture, de-gloss inside the crevasses by wiping the entire door with a de-glosser. This evaporates very fast, so only wet your rag in small amounts and work in small squares.
Cleaning your garage door is Key
Even the best primers cannot bond to a door that is not clean. Start with a strong degreaser, even if the door does not appear to be dirty. 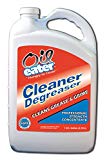 This also will remove oils, old spider webs stuck to the paint and bird doo-doo. At the same time, it removes any dust from sanding. We stopped using TSP because it’s so harsh on the skin but that works fine. We now keep the degreaser you see here always handy. We use this in the kitchen also. Read about how to dilute the cleaner here. Cleaning a garage door is best done on a warm, or but not hot, summer day—like the painting. You want to do the painting as soon as the water dries.
Rinse the garage door twice very well, and let dry completely.
Let’s Get Primed
Wait for a warm, but not scalding hot day to prime and paint. Only work when the sun will NOT be hitting the door.
The sequence of how to prime the door is the same as how to paint a garage door section, below.
Stix by Benjamin Moore sticks to anything. Even if you did not clean and sand (why wouldn’t you?), STIX would make a bond better than any other primer on the market. It can be used indoors as well. We use it on every garage door before painting. Garage doors take such a beating from the heat that it’s really necessary.
If you have chipping paint and the original door material is exposed, you may need a special pre-primer to spot prime those areas (especially for metal and vinyl). Please look for your door type above under Section 1.
Shake your moneymaker.
Always shake the primer and paint cans very well. This is another key no other websites care to mention. Paint and primer start to separate components as soon as the shaker stops. This is not a problem except for stains generally. If the paint or primer has been sitting for a day or more, it needs a thorough shake.
Any paint store will shake any (non-rusted) can of paint for you for free. But there is an easier way. See our video that shows how we shake cans just before opening. But it’s always good to open, look and smell inside and old can, then close it up, then shake it. Just so you know what you’re up against.
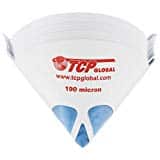 To strain or not to strain? Strain. If the paint is old, you’ll have dried lumps and dirt that needs to be strained. That’s easy. After shaking, use these filter cones which have just the right size screen. Also, a lady’s hosiery will do. Sally Ann (Salvation Army) has them for a buck. Never opened, new paint only needs straining if you will spray. We have ‘new’ paint with lumps. It comes from sitting on a shelf for a long time. Here is our post on the best project sprayer: airless and others.
Drop cloths on the driveway, and if you like, tape or tape+paper around the garage door frame to protect the house siding. Another reason to use a high-quality garage door paint is that good paints are easy to control: less splatter.
The tape and paper masker we use is from 3M. It’s a big time-saver for all kinds of paint jobs. We use tape to mask off any hardware, but not glass windows.
How to paint garage door horizontal panels
Think of each section of the garage door to be a separate piece of work. First, you’ll ‘cut’ or brush the top and sides of the top moving section, but not the bottom where it touches the next section down. We’ll explain why in just a bit.
Cut 3 of the 4 edges of the top garage door panel with your paint/primer down just with the door still closed. A small step ladder is best for this step. The width of the cut could be a few inches. Brush or roll/brush the entire top section down to but not over the bottom edge (where it touches the next section down).
You don’t want two panels to touch when wet—ever.
When that is done, open the garage door (manually if possible) and slide the top panel up so that it separates from the next panel down. When you see a gap, stop. Now you have access to the vertical and horizontal edges of the 2nd panel, as well as what you can reach of the top panel (that is now at an angle inside your garage).
You don’t need to paint all the side edges of the garage door that tucks under the weather stripping, but you could if you want: it’s not exposed to the elements. Also, you do not have to paint the horizontal edges too far inside: this is also not exposed to the elements. Just ⅛ inch or so is fine. You only see the edge of the panel when the door is going up and down.
Paint the 2nd section of your garage door and then repeat the process on the 3rd panel, along with the edges you can see.
This is a key step: When done painting that 2nd section, don’t move it up yet. Make sure the top of the 2nd and the bottom of the top panel are both dry before going to the 3rd section. If the top-most and 2nd sections touch too soon, the paint will stick. Just wait until really dry. Break time. (You can dry the paint quickly with a blow dryer: this does not harm the paint.)
Now, just repeat for the next panels until your garage door is painted.
Some big DIY websites say to start from the bottom up. Wha? Then your drips from above don’t get removed on the lower panels. Self-taught painters!
Windows and panels
The image you see here shows inset panels in a garage door. These panels are called ‘lights’ in the trade and are painted as if they are windows. 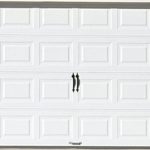
Sometimes these “lights” are glass, but more and more, garage doors don’t have windows. (For real glass, see below). Today these are just panels for show.
We paint the inset panels first and wipe any excess off the rails and stiles around them. The end product is a much cleaner look.
But it’s fine to just roll in squares. Keep your ‘wet edge’. This prevents the paint from drying and gunking up when you do your next square. This is why we like warm, not hot days.
For fun: read below about how to use garage door paint to simulate an all-glass garage door.
How to go fast
Going fast is important to keep your wet edge wet and your final product looking good. We use a 9-inch roller and ‘tip out’ the garage door paint/primer with a wide brush. The parallel brush marks look better than the roller nap stipple.
We really never dip the brush at all. Talk about fast! (We don’t use ‘paint trays’ either – see our bucket set up below.)
Windows: In general, windows should be caulked between the glass and door body. We never used the old putty/oil-glazing even in the days when all windows used putty. A thin bead of “paintable” exterior caulk wiped with your finger covered by a damp rag, or a caulking tool leaves a very neat and paintable line. Careful: some silicone caulk is not paintable and the paint just beads up on it.
Paint the garage door frame last
Prep and paint the garage frame as you would the door: usually the frame color matches the door color. We do this last because it gets bumped while painting the garage door.
Tools:
Repeating: this is important. For all painting chores, avoid budget rollers and brushes. If you spend less than 20 bucks on a brush or less than 9-10 on a roller, you will have bristles and lint shedding into your paint and onto your door. Rookie mistake. Even self-taught “pros” make this mistake. They want to save a buck.
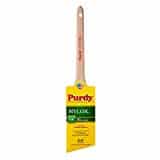 We use Purdy Nylox: latex only brushes (shown) are far better than those that can handle oil. If you have oil primer or paint, buy a brush just for either latex or oil, but please know that once a good brush is used in oil and cleaned, it will never be nearly as good as a latex only brush that’s been cleaned many times.
Our Purdy Nylox brushes last 6-9 months of DAILY use. Then they become back-up brushes when we have many colors going at once. They are simply the best and for us, they pay for themselves in an hour.
Our bucket and screen and more are all on our tools list page.
Learn our easy way of cleaning brushes and rollers at the bottom of this page.
We use Wooster and/or Purdy roller frames and roller covers. The reason you should use a professional roller cover (which is not expensive) and not some throw-away is that the ones you pay a few dollars for…and the ones that come in the kit with the pan and brush…are awful! They shed lint as soon as they get wet! Ever see wall paint that looks like sandpaper? That’s it.
A 3/8 inch nap roller is about right for garage door painting. Longer nap is fine too.
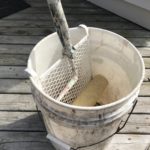
Our bucket set up. Trays spill and don’t hold much paint. We use a 5-gallon bucket and a screen. It’s our clean-up bucket later. The quick lock pole and all the needed tools are all shown on our tools page.
This is not just for garage door paint, but for all exterior and interior painting: we never use trays.
3. Tips on painting garage doors, and a look at common problems

Style idea:
The house shown here has a painted garage door with real glass windows on top, but the panels below are black. The millions, stiles, and rails white. When viewed from the street, the garage door paint created the look of an all-glass door similar to the photo shown. Cool.
Note: Generally speaking a garage door paint is not something you want people to notice, so recommend to all our customers to paint the door so it blends in. The main front door of the house is the place for the point of focus for your guests.
Rot at the base of the frame: Bondo. Bingo.
Water tends to pool in a driveway and rot the garage door frame. Even aluminum frames get holes there. If you have the problem, use Bondo. Yes, the autobody filler. Bondo will last through the zombie apocalypse. Brains.
Stains from water or from wood “knots”?
Easy fix. For these types of stain, you simply use a stain-blocking primer. Kilz Cover Stain is one of the best. Stain-blocking primers have resins that most primers don’t have. Most primers just even out the surface making the topcoats uniform and usually, that’s all you need. Note: many, many coats of normal paint will not block tree sap in a wood knot, or water stains for that matter.
Maintenance
Many garage doors age faster at the bottom from more sun and more water. It’s the freezing of the water that is sitting in and around the garage door that does so much damage. Well, that’s life and the only answer is maintenance. Touch up every few years between full coats: that’s the best way to keep your door healthy.
A quality primer and quality garage door paint will reduce your time and expense in keeping the door in good shape.
What other websites get wrong:
We have read some so-called review sites telling you that you need a clear coat over your garage door paint: bunk. This is such a big mistake. By layering different products you increase your labor when it comes to painting next time. The layering also combines two coatings, one ‘hotter’ than the other which can cause lifting and delamination over time.
Why do these websites recommend this? Sales. Period.
And it makes touching up in between paint jobs a real problem too.
How to clean after painting a garage door
We have videos on our pages for how easy it is to clean a brush, and the way we clean rollers.
It’s not messy and it’s not hard.
Bonus: How to prevent burglars from gaining entry to your house through your garage door.
 We found out that the police, when assisting homeowners who are locked out of their house, break in using the same methods as criminals: the garage door. Many types of garage doors are VERY easy to open even when locked…with just a coat hanger.
If you have an electric opener and not one of the old-style ‘bar’ locks, your door is vulnerable. This video shows how you can fix this vulnerability…with just a zip tie.
Well, we hope this answers any questions you may have had about garage door paint.
Decorators we work with tell us that the garage is key to making your house feel like a home: it’s the main entry for most of us. The walls, the floor and the doors (inside and out) should look good!
Finally, we certainly hope the internet can get it together on this topic. I mean, who writes things like, “you might want to use a primer”? Wow, just wow. Professional writers hired by so-called DIY sites. Irk. Let us know how your garage door paint job turned out.
My wife want a black garage door as it seems to be trending. Plus it will match our front door and roof (I think the garage only gets 1-2 hours of direct sun in the summertime). We have an insulated door and I have read not to paint it black but then someone mentioned to use a “reflective black paint” which can decrease the heat by 30%. Anyone have any experience with this?
It’s a risk for sure. Maybe gloss would reflect more but it will get very, very hot in the sun and likely the paint will not hold.
Good luck
Brad
Have you ever used some clear paint protection tape on the edges of a painted door to guard against the weatherstripping rubbing off the paint? I just bought a new stock white door and painted it black with satin oil based paint. Before installing the door, I’m thinking adding the tape to the ends where the weather stripping will constantly rub may be a good plan.
I use the green tape that cannot leave a glue film. I don’t know what you mean by clear tape. Packing tape?
If you extend the life of your weatherstripping, how can that be wrong.
Good luck, sorry not much help!
I’m talking about the clear paint protection tape like used on cars to guard against rock chips. It’s meant to be left on permanently. I’ve seen painted garage doors where the weather stripping has rubbed off the color coat over time. I would assume that might be pretty noticeable on a dark door.
Oh, I see. I have never seen that. Can you send me a picture? I’ll post it here so other readers can benefit.
Sounds great
Excellent site Brad.. Thanks
I have some questions I know you can answer. You state here that for a 2 car garage door, one would need a quart of primer. I currently have a white garage door that is accented with red. I also have a red entry door.. The garage door will be all white and I need to change the color of the entry door to forest green as I am getting my house sided with green shutters. I only have a single car garage. My question is this. Will a single quart of primer be enough to cover the garage door and the entry door? How much paint will I require? Would a gallon of white and a quart of forest green for the entry cover me? Would you use semi-gloss or high gloss?
Thanks in advance for your help.
If I were doing this, I’d buy two quarts and return one if I don’t use it at my convenience…so I don’t have to run to get more paint if needed. Same with the gallon: buy 2.
However custom tinted paint cannot be returned…so maybe not so much for the gallon.
I think a quart will do. Red is strong so lay it on well and sand brush marks when dry, then wipe with damp cloth, then final coats.
Do some math also: 1 gal, 440 sq ft for most paints so… is your project 220 sq ft or less? The second coat covers better…less paint is needed. I think it will be ok.
Also, a quart of primer costs about 1/2 of a gallon cost so maybe buy a gal. and have some for next time. Just seal it well and don’t let it freeze!
good luck
Hey Brad,
Great site! Thanks for all the tips!
I made a rookie mistake. I followed a big box store’s instructions for painting my front door for the first time. They never mentioned priming (I should know better). I put two coats of red on my front door yesterday. It looks nice.
At this point what would you recommend I do? Should I just leave it be? Or should I sand it down prime and do the job all over again?
I guess what I’m asking is how bad is it that I didn’t use primer?
Have a look at the priming properties of the paint. Sometimes they add ingredients that provide some bonding power.
I guess you’ll be ok for some years. It will start to lose adhesion, that’s when you get out the paint stripper and take it down to the wood or metal.
BTW if it is metal, it was came white right? If so, that’s a primer. Hope so!
Anyway, just live with it. When time to strip if necessary, use BlockOut or any Ben Moore or Sherwin W exterior primer for wood if wood, for metal if metal.
Good luck.
b