Setting a nail is not brain surgery. But too deep and it’s a problem.
This post has nail hole fillers and nail gun accessories too.
Table of contents
hide
Basics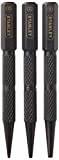
We have a video demo at the bottom showing how to set a nail and how to fill the holes. I recommend this set.
First, the basics;
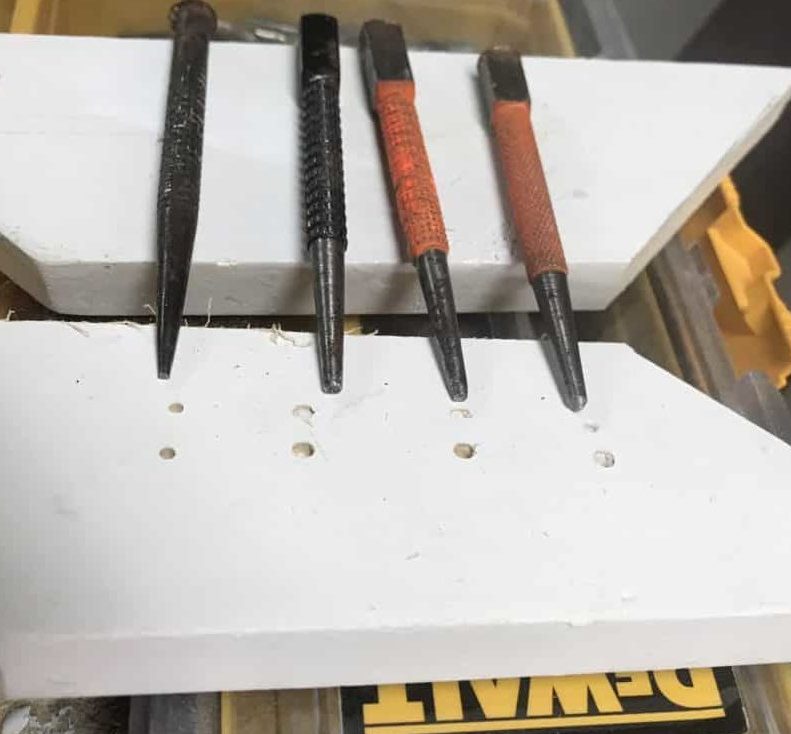
- Any sharp tool can be a nail set – anything that functions to hide a nail head by submerging it under the surface. You could grind an old screwdriver into one (it’s been done).
- Some finish nails that have an indentation in the head.
- Other nails have flat heads so your must hold the nail set perpendicular.

How to use a nail set
- Simply choose the size nail set that suits the situation (the Stanley set on this page has the only 3 you need).
- Start with a light tap to be sure it won’t slip off to the side.
- Finish set with only much force as you need. Try to set the nail just under the surface.
- Too deep and you have a hole so big that the putty or spackle will crack and need two coats.
- Fill hole as needed.
This page has stainable putty, spackle, and also nail gun accessories.
Tip: leave a small mound of spackle to sand down. Putty will not be sanded so leave it flat.
Skilled users know…
- Start with light taps to make sure your nail sett will not slip off
- Hole fillers all shrink somewhat: the bigger the mass, the more it shrinks…and you have to fill it again
I knew a carpenter who thought a nail set tool was called a ‘nail seat’. He knew it was wrong but…anyway, but his joints were always tight!