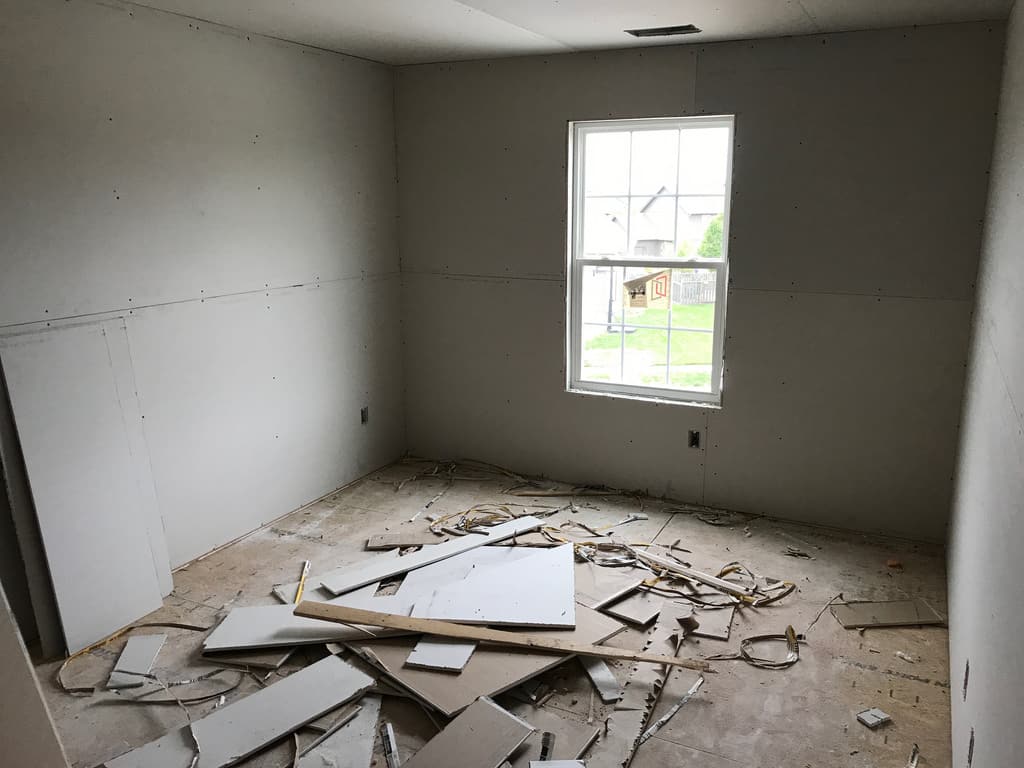
How to prepare drywall for painting

Your new walls are finished. Now to painting drywall.
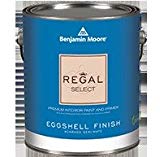
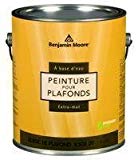
We’ll get to the prep and the primer, but your most important question is, of course, paint. If you go with low-cost paint, you do more coats and they fade! Our #1 go-to wall paint is Ben Moore Regal, and when the primer is done on the ceiling, you only need one coat with Ben’s Ceiling White. Zero VOCs too.
These are both shown just below.
Free shipping on both, wow and the Regal is available from the seller in any color: you just choose your color from the Ben Moore website, unless you know it already, and email the seller listed on the page. Just click on ‘seller’ in the product page right-hand column, under the cart button.
Sanding is the hardest part, and oh, the dust. This sander with vacuum cuts the labor and dust. If you have a big job, grab one and sell it later: pros do buy this model. See my full post on drywall sanders and it links up to dust-collectors: what a great tool.
Old school? Go here for sandpaper. Wrap it around a block of wood, or get a pole sander: this attaches to any broomstick or paint pole. This is what I do mostly when not sanding a big job. It works with any hook-n-loop paper (ridiculously low-priced), such as for power sanders.
Then you really must dust the walls: use a broom or get a duster you can use all over the house for those spider webs at the ceiling.
For any painting gear you might need, see it all in one place: I use all these things and they are very reasonably priced, most with free shipping.
Sometimes the drywall crew did not sand it to your satisfaction, so touch-up with some 150 or even 200 grit sandpaper (220 is quite fine). Look closely the drywall holding a light in one hand and sandpaper in the other: what you see now is what you get later, but just a new color! Paint does not fill cracks or smooth out rough edges! This is for your home improvement, so go all out. For your rental property, we usually let it go as the sanders left it.
6 Steps on how to prep drywall for paint: more details below this section.
- Inspect the walls with a bright work light (such as this one). Sand the imperfections with 150 grit sandpaper or finer.
- Broom/dust the walls and let the dust settle.
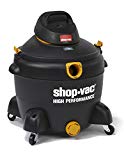
- Sweep then mop the floor of the dust – you will ruin your good vacuum with this fine dust: a wet/dry vac is the best kind.
- Give the walls a final dusting with a cloth or sponge that is not wet, but just barely damp.
- Prime the new drywall first with a drywall primer (you can find it here) on all the walls right to the corners. That comes in single gallons too, but you get 5 for the price of 4. How do they do that free shipping? Amazing.
- Paint walls with your color. Apply 2 coats of paint, yes two coats. One is never enough unless the primer and wall paint are both pure white and high quality. Budget brands: this does not hold.
If you have a lot to do, pick up an electric sander: the DeWalt Orbital is my go-to machine paired with this paper.
Before Painting New Drywall:
- You are done sanding as explained above. Now you’ll need to remove the dust from the new drywall. If you don’t do this, your walls will have a rough feel and look because the dust clumps up into grit in your primer later. Start with a wide dry broom on the ceiling if it is new (even if not, clean it!), and let the dust settle a bit. You’ll want to have a dust mask on. I just use my respirator but take out the chemical filters as they are expensive and there is no need for them for drywall sanding in most cases. The mask comes in different sizes and filters can be complicated. I simplified it all in my post on respirator masks here. The dust filters are very low-cost and save your lungs for your old age when you will probably need them.
- Clean floors are essential: Do a first rough sweep, then a finer sweep, then go to your mop. Don’t use your good vacuum as this dust will kill the machine! If you do not have a wet/dry shop-vac (one with a filter, not the gravity chamber type which will just blow around all the dust) use the broom. Important: we do this sweeping/mopping now because we don’t want to be kicking that up during the work.
- Next, you want to give the walls a final dusting with a barely damp cloth or sponge—not wet, but just barely damp. This will pick up everything. If the unpainted drywall gets wet at this point, it will cause a time-sucking problem: paper wrinkling. Ah, dios mio…more spackle, sanding. Again, you must clean floor to ceiling because if you don’t, the paint roller will pick up the dust and create a wall finish that is rough like sandpaper.
Painting New Drywall:
To paint your new drywall use a drywall primer first, it’s far better to use a primer that says “drywall primer”, which costs less than most primers. Why? It has only what you need and no stain blocking resins which are expensive. (Assuming you have not stains or mold, etc.) Read more about the best drywall in this post.
This is one of the few times I would say that it is fine to use a paint and primer in one. I have written about why this is usually not a good idea, but for a brand new wall, it does save time (assuming you have no stains).
Rookie mistake: Never use regular paint as your primer. Please? No way. The seams (where the tape was covered with mud) will show through every coat of paint!
When do you need for Kilz or other stain blockers? You will always want to have a stain-blocking primer around (I just leave a small brush in the can). But for drywall, get free shipping on a low-VOC drywall primer (this is the one-gallon link: the photo is for 5). Amazing price online – wow, about 27 bucks at publication time. That’s really low.
Be sure to prime right to the corners. Watch my video on why you don’t need to brush in corners (applies to ceilings and wall corners).
So you see painting drywall is a bit involved, but there really is no other way. There is no “fastest” way when you are painting drywall.
Now you are parked on the downhill for painting your new drywall.

Thank you for this great article, and well, all of your articles. They are very helpful! We are currently having texture on our walls removed via skim coating the ceilings and walls. How do you recommend to prep these surfaces for painting, as they are all chalky right now. I was going to use Kilz Klear prior to top coating with latex paint. What would you recommend? Thank you!
I’m not sure why you would want to use a clear primer. Go with the least expensive for the job and since it’s all new, just simple drywall primer is what you need. Any more is … overkilz. Oh, it never gets old.
Chalky means dusty right? I use a push broom, but you can use anything to dust them off. Then clean floors then paint. Try not to kick dust back on walls.
Don’t vac with your house vac…only a shop vac. It will kill a normal vacuum.
So one drywall primer, don’t skip spots..use a good light, then 2 coats of your color and you’re done.
Good luck,
b
Thank you for taking the time to reply!! I’ll plan to use the drywall primer you suggested. 🙂
Sorry one more question, because every wall and ceiling in our house is being skim coated, is it possible to spray the drywall primer? Or is rolling preferable? Thank you!
Absolutely spray. It’s a no-brainer.
Have a look at the homeowner-level sprayers from the best pro company. The Magnum line sells a lot and they have a high re-sale value… many people only need it for one big job. Pros often keep a sprayer of this level in reserve in case their 2000 dollar unit goes down.
Here is my look at them.
Read about masking as well. If you will paint trim, spray the drywall, then the trim, then roll the walls and you’re done.
Masking it worth it when you have a job like this. Spraying for one or two rooms is not really, but some pros do. I only sprayed when I had what you have.
Good luck,
b
ps, a respirator is a must
Thanks
Hello Brad, December 2,2019
I have inherited my dads and mothers house and it is very old I think it was built in 1928-1930’s somewhere around that time.
Well my question is and I will send a picture of the walls also. I have never painted or done anything like this on these kind of walls. And there are a lot of cracks and holes in the walls where she trued to hang pictures. What kind of advise can you help me with this?
{she later sent pics added below –b}
https://www.bradthepainter.com/wp-content/uploads/2019/12/Kathys-wall.jpg
2 things to do: read, study, learn by experience, or call a pro.
In your case, based on what you wrote, call a pro and pick his/her brain. What do you do first? Record your talk. What kind of crack filler? Caulk where, spackle where?
Things like this you need to know.
I’d hire the one who takes the time with you and tells you what you can do yourself. He/she knows you’ll be a customer for life.
Find an older painter who is willing to help you do some things yourself, or teach you.
Other than working with a pro, read my site about prep for paint. Look at the tools page and get the sandpaper, caulk, spackle that I use and learn how to use them on my site and on youtube.
Amazing what you can learn on youtube.
Yes, I’ll post your pics and give more advice when I see them.
Often very old houses have horsehair plaster: onto strips of wood, they heaped drywall mud mixed with horse tails for strength. Great stuff! These days, sheet rock is a much better deal.
So, you’ll spackle with drywall compound mostly and sand and prime and paint.
But a pro will walk you thru it. Let him/her do one room and see if you can do the same. You’ll go slower, but there is no reason you cannot do it too.
It’s not rocket science.
b———————-
update after getting the pics:
———————–
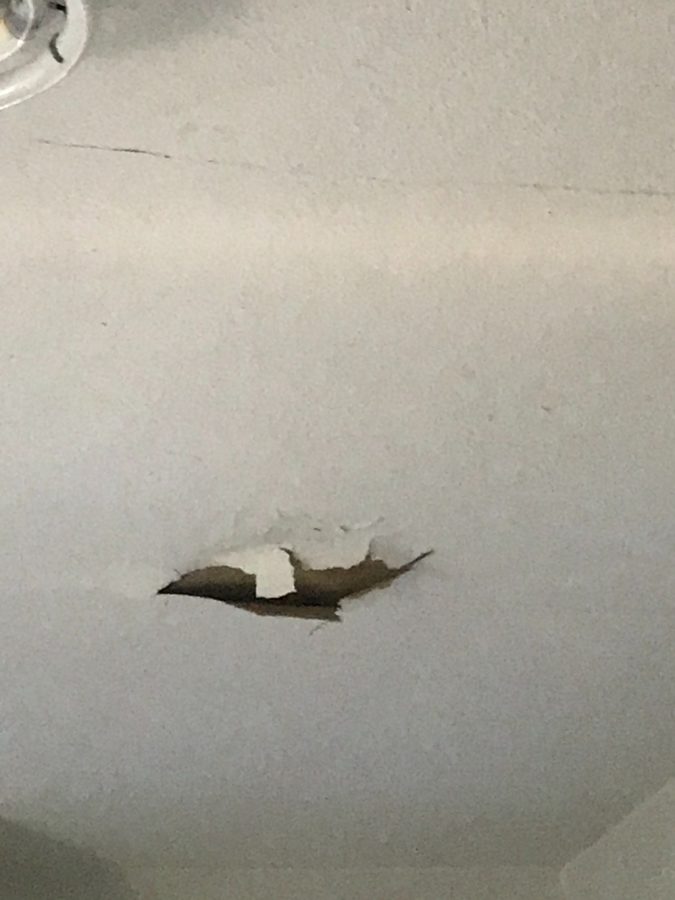
Ceiling:
this looks more simple than wall: just scrape until it does not want to fall off, then spackle or skim some ‘mud’ and sand and primer and paint.
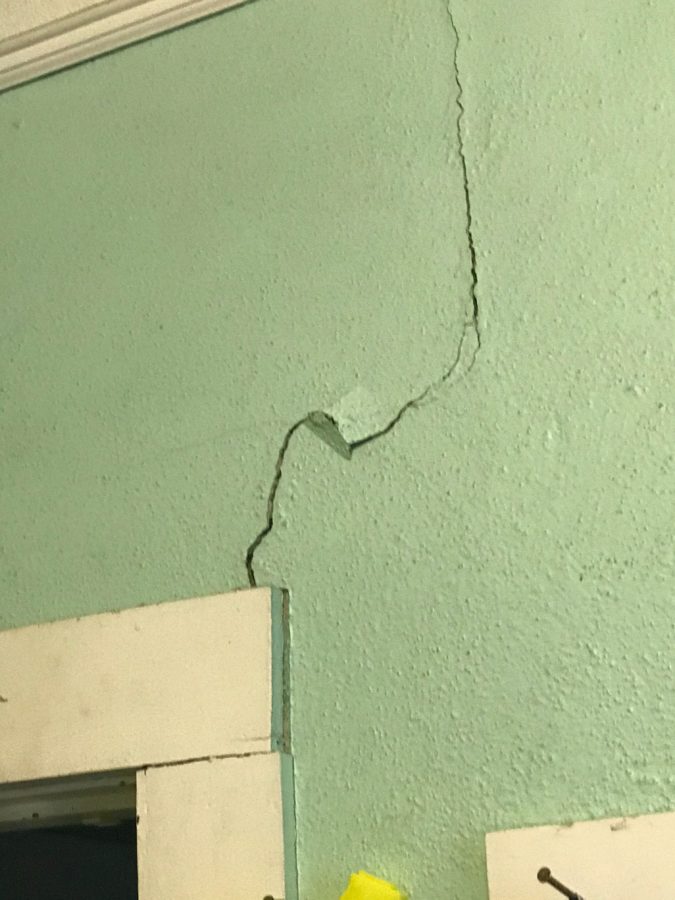
Walls:
These are indeed some deep cracks.My guess is that the house is going to continue to move and they will re-develop over time. So all you can do is fill, sand, prime, paint.I had a similar house, my first. The crack kept coming back so I used expanding …flexible caulk. Still cracked !
So just keep adding drywall compound or spackle until you get it to stop shrinking and you flat with wall…flush with wall… Then try to add some texture with a sponge on wet mud or whatever you can do to almost match: don’t worry about matching… NOBODY but you and me will ever look at it. Trust me. It will disappear, even if flat!