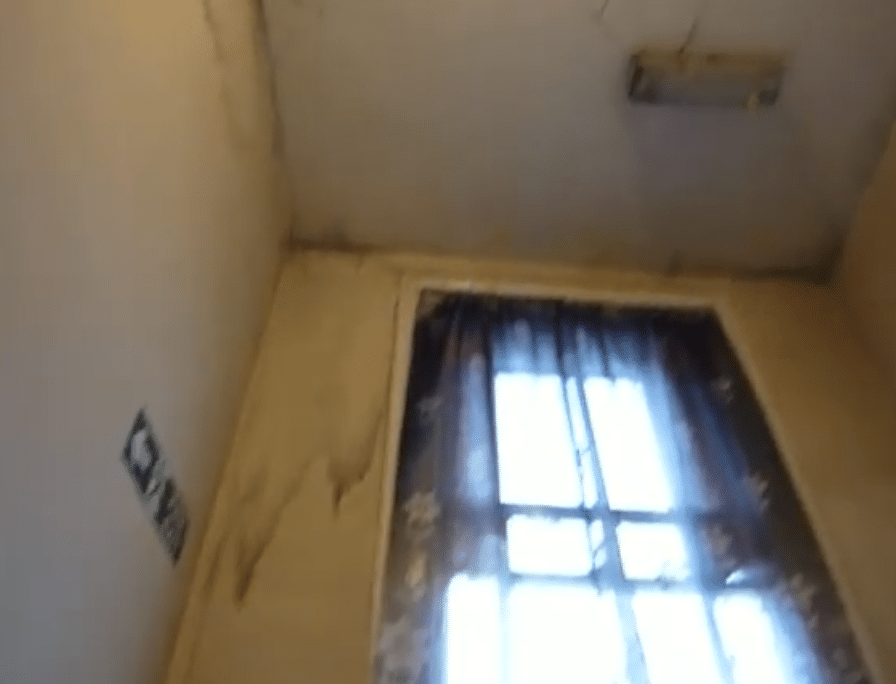
If you followed the steps in the first 2 posts of this series, cleaning and priming, you are not free to use any paint you like. That is if you used the alcohol-based shellac BIN in post #2, you are all set. The first post is how to clean smoke damage.
But if such a nasty primer was too much, you can get rid of the smoke smell with an encapsulating paint. I recommend the BIN, however.
RECON Smoke Odor Sealer gets rid of the smoke smell by encapsulating odors.
If Amazon is out (not surprised), pick it up at Home Depot.
It prevents the odor-causing nasties from working their way through the layers of paint. Not on my watch, bub.
How to apply:
- Brush: See my tool page for what I use.
- Roller: Not recommended
- Spray Settings: Pressure: 2200-3000 P.S.I. Tips: .017 to .023 tips
Read my post on the best paint sprayers today.
Prep:
Surfaces must be well cleaned of smoke damage and dry. Smoke odor encapsulation is the final step. Of course, you did all the prep with the first post in this series, right?
Painting:
Apply generously by brush or airless spray. Apply one coat but two coats may be required on porous or heavily stained surfaces.
On floors, follow this with floor paint or sealer.
If putting something on top of this paint, wait at least 24 hours if the air is about 70 – 77°F, 50% humidity.
Lightly sand and clean the surface of Recon before coating.
Use only 100% acrylic latex on top of Recon, with an eggshell sheen or higher. Do not use alkyd and oil-based paint topcoats.
Smooth Surfaces: 200-400 ft2/gal.
Porous Surfaces: 100-200 ft2/gal.
Dries in about 4 hours and 30 min to touch at 70F and 50% humidity
Cleaning:
Clean tools and drips etc before the Recon dries.
Read the label of the paint for storage, safety and so on. That’s always important to do the first time you use any paint.
Do not apply when air or surface temperature is below 50°F,
Use adequate ventilation during application.
Try my respirator system. Not expensive and saves your lungs.
Thanks