This is the first of 3 posts guiding you through the process of cleaning smoke damage and painting smoke-damaged surfaces.
The second post is for the primer, and the last is how to do the painting work.
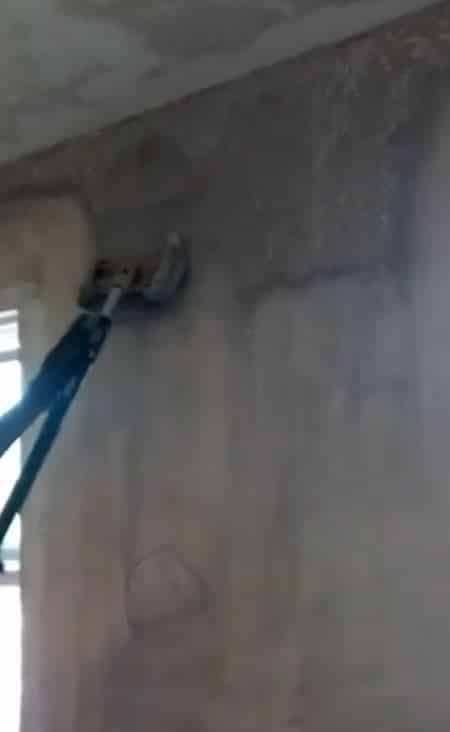
Once I painted an apartment in which some guy had smoked for decades. We wiped the walls of the brown stuff a bit and tried to paint.
The paint beaded up like what we see above. We had not been trained in smoke damage cleaning.
Smoke damage cleaning products and how to apply
- First, remove anything porous, such as carpeting, drapes, etc. Towels etc on floors to catch your drips of cleaners.
- Next, we clean in a 2-step process: clean the smoke damaged surfaces and then encapsulate before painting…
- 2A: TSP is the professional’s go-to smoke damage cleaner, but TSP is a bit dangerous. Wear eye protection and gloves absolutely. Also, it can cause problems if it isn’t rinsed off very well. Whatever you use, rinse well at least twice. Clean everything including door knobs, heat ducts, etc.
- 2B: Now use a cleanser designed to encapsulate smoke damage odors. It’s a bit expensive, but this way you know you will finish the job without going back to square one. We use Bridgepoint’s Xtreme Smoke Odor Counteractant. Just follow directions: fairly easy.
Still nasty? Maybe repeat the process if you are in doubt. The primer you will apply is great (see next post, #2), but cleaning the damage from the smoke now is your only chance.You have the right smoke damage cleaners so more cleaning now is smart. Just repetition: “wax on, wax off”, literally ‘rinse and repeat’.
This was post #1: cleaner for smoke damage.
Now go to the smoke damage primer page.