Here are the steps and all you need when painting concrete floors. If you have not started your prep, you’ll also like our concrete prep page.
- How to Paint Concrete: the main work.
- Gathering tools: make sure you have all your tools ready – Jump to this part.
- Our go-to concrete paint – Is Benjamin Moore’s Hot-Trax. Jump to that section below for more details.
1. How to Paint Concrete, the fun part: getting wet
The best way to paint concrete is to plan it well and have all your tools ready. Do you have furniture to shuffle around before painting concrete? Jump below to see how to do that efficiently. And read about my go-to concrete paint.
How to paint concrete floors is pretty much the same:
- Your exit plan: know your way out. Nobody has ever been painted into a corner, ever.

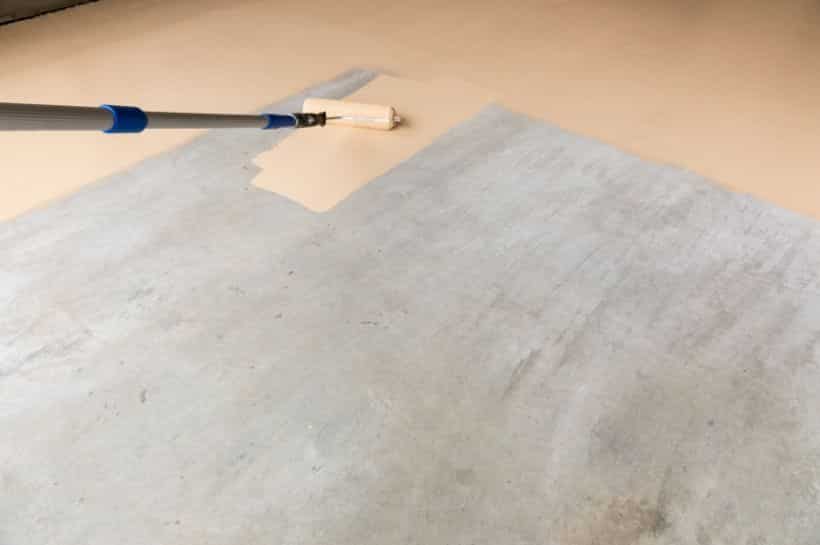
Bradthepainter-floor painted into a corner again - Cut (brush). On walls, we ALWAYS roll before we brush, but for floors, we never do that. Go all around the edges and poles, etc first. (Curious why walls are rolled before the cut?)
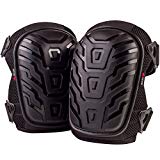
- Knee pads are great here (great for cleaning house too).
- No tray/pan needed here: you’ll just pour into a puddle onto the floor directly and roll from the puddle.
- Roll: usually we say roller pans are for rookies so use a bucket. Here we say, don’t even use a bucket! Just pour the paint on the floor! Make a puddle and use it as your bucket/tray.
- Don’t leave puddles, but while painting concrete, apply evenly and fully. Two normal coats are often the best: don’t try to cover in one coat. Concrete paint can only go on so thick. Don’t lay it on too thick or thin: be happy to re-coat inside the time window. Two normal coats are WAY better than one thick coat.
- Don’t clean your roller/brush now. Wrap in plastic and only clean after any touch-ups are done. Make it airtight with layers of plastic. Keep in the fridge! You’ll clean after you know that the furniture is not sticking (see next section).
- In a few hours, the paint will probably be ok to walk on (check concrete paint can label), however, it’s going to be quite soft so wear socks or check your shoes for little pebbles, etc.)
Evaluate and maybe re-coat
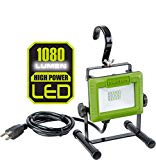
- Does it need a 2nd coat? Use a bright work light to see up close. Color can be a factor: reds you’re dead, but gray is great. The brushing may not need 2 coats even when rolled area requires two. Second coats go faster. Be sure to use a light to see any skips.
- Re-coat window: You really must recoat after the minimum and before the maximum time for re-coating.
- Wintertime slows drying/curing down.
- Be sure it’s fully dry before moving objects back. Push your fingernail into the concrete paint to try to see how hard it is.
- Put back your furnishings, but every few hours at first and then, the daily, check that nothing is sticking. If anything pulls up the fresh paint, you have to touch up. Lucky you did not wash that brush yet.
- Summer curing times can be weeks and in wintertime a few months! Treat it gently for a while.

Clean up (not for epoxy)
- Key tip is to not clean up. Not until you are sure no furniture is sticking and this will be about a week or more. Wrap the roller and brush (with a little of its solvent (water for water-based) in several layers of good plastic. Keep it in the fridge if your family won’t freak!
- Don’t be afraid of cleaning roller covers: it’s easy.
- How to clean your brush easily.
If you cannot move all the furniture out…
- We often must paint cement floors in sections. It’s a little harder that way, but sometimes there is no choice.
- Spread out blankets or cardboard etc, and gently lay your furniture (on the flat sides rather than legs to spread out the weight). Plywood or a few layers of cardboard over the blankets spread out the weight the best.
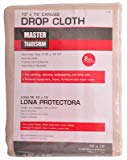
- You may get paint on furniture, etc, so think about covering all with plastic drop cloths.
- Light plastic will slide and blow off: use tape that will not leave a glue mark. Buy a year’s worth of green painter’s tape and get ready to fall in love with it.
- Gather some old blankets or cloth (even cardboard). Lay the furniture on the sides or top, (not legs) to keep objects from sticking.
- When you come to the prep below, start with the area that you will paint LAST.
- When you clean anywhere, you will spread dust—our sworn enemy.
- Clean your holding area first, then move furniture there. Then cover it all with plastic/cloth as above, and protect the floor that you just cleaned from dust.
- Then, clean the other section that you will paint first.
- Finish each section before doing 2nd coat on later sections.
- Be sure the first section is fully dry before switching things. Use your fingernail: push into the paint to try to test it.
2. Gathering tools list
Add to your list supplies you don’t have already. (Full list on our main tool page.)
- Biggest tip: don’t use low-budget roller covers /brushes: they shed lint/bristles and will totally ruin your work. Trying to save money can be very expensive!
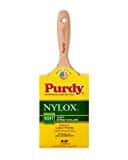
- Which brush? Unless you’re doing 2-part epoxy, get a brush that you’ll clean. Most important: it should not lose bristles. Concrete is just like any other surface: there is no special brush for cement paint. My go-to brush you see here comes in many sizes.
- Not-for-epoxy brush: a standard Purdy brush should last a homeowner a lifetime with careful cleaning. (Below, we’ll show you how to easily clean it). There are too nice to use once and toss.
- Epoxy brushes: buy one brush for each gallon (or for each 4-hours of work time because our pot-life is usually 4 hours). Generally, spend about 7-10 bucks on each brush for epoxy, and toss them. Sorry, Brad Pitt. Love you man, but, hey, you know.
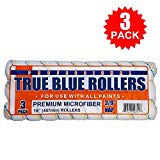
- Roller: Check your exact product label, but most floor paints specify a 3/8 inch nap roller cover. Remember, the budget rollers shed lint. (See the photo below sent by a reader who found out the hard way).
- Epoxy specialty rollers: buy one roller for each gallon or one for whatever you can do within the pot-life. You can try to clean these tools… but we don’t. We only clean water-based rollers/brushes. (The pot-life will kill them…like it killed all the beatniks—NOT).
- Roller frame and other tools are all listed here.
- “Exterior only” paints should are toxic compared to interior products. They off-gas for months. Here is why they are bad indoors.
- Proper ventilation is important if you want to live long and prosper. Unless you have VOC-free paint, ventilate—even in winter. Here is our look at VOCs.
- A clean floor is THE main thing. Before we go into everything that could go wrong, the one thing that causes most concrete floor paint failure is that the coating cannot bond well because it was only cleaned lightly or only once.
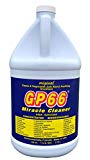 We use either TSP or a much safer product made in the USA since 1966. It’s a concentrate you’ll use for a long time to clear grease, oils, etc to do more than just prep for concrete floor painting. Kitchen/bath, baked-on grease etc, etc. After scrubbing with a brush, rinse the cleaner very well…a couple of times, and let dry totally.
 - Please do read the other prep essentials we have here.
Big oops: why you should not buy dollar-store rollers:

3. Our go-to paints for concrete floors (and our runner up)
Interested in two-part epoxy? We have a full post all about the best garage floor paints.
For most concrete floors, we recommend the best: spend as much here as you can afford. In the long run, you will have less hassle (and cost).
- Benjamin Moore’s Hot Trax would make an excellent basement floor paint as well as garage floor paint.
It has epoxy resins added for toughness.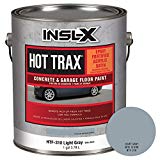 A very good paint at a decent price that can be used in basements, garages, patios, etc. It is easier to apply than the (superior) two-part epoxy coatings. Better than the normal floor paints if you need more toughness. Two fab shades of gray. Boring, but we love it. Choices in concrete floor paint colors are known to be few. INSL-X is a line of Benjamin Moore paints which we always trust. An excellent paint for cement.
 - Tough Shield by INSL-X (Benjamin Moore).
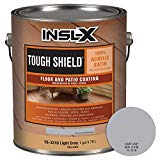
Not for garage floors but the best concrete paint outside of the epoxy concrete paints. Comes in five colors: not bad Benjamin. Use on outdoor patio floors or indoor wood or concrete floors. Interior or exterior, covers about 400 sq. ft. per gallon (less on rough floors), and cleans up with water.
There is a lot to consider, but this post is just about the actual painting.
We have more:
Acid etching? You probably don’t need it.
Grinding? Maybe, maybe not…
What about primers? They are generally not required on most concrete floors: this is a question of alkalinity.
We have explained all these issues here, but the short answer is that painting concrete floors older than one year are probably fine if you know how to degrease/clean very well.
Read how you can test moisture and alkalinity yourself to some extent, but if in doubt, have a flooring expert do it.
Remember: never paint brand new concrete: always wait at least one month. If you are unsure about going forward, delaying is wise.
Concrete floor paints are a world unto themselves. We have a full post all about them.
PS: we love the look of decorative flakes and these are matched to INSL-X colors (3 to choose from). Read about how to “broadcast flakes onto concrete floor paint”. 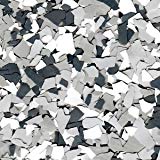
Any comments? Please feel free.
Summary
If you have ever painted any floor you know that how to paint concrete floor is exactly the same: it’s the prep that is so different. Above all please read the related post on how to prepare a concrete floor for coatings. No ladders: the real pleasure in when you paint concrete floor.
The cleaner you use on concrete is a key product and we have a post just on them.
Cement paint comes in 3 categories: regular paint, paint with epoxy added and the true epoxy concrete floor paint that is not really paint but a coating. We cover these here.
For garages, we do like the idea of interlocking mats that really last, but most folks want to paint concrete floor: this is all about garage floor paint.
Staining concrete is a great option: the stain does more than just bond to the top layer like concrete paint.
We also have basement floor paint covered in our look at painting basement floors.
Did you paint concrete floor lately? Let us know how it went.
Some beatniks living the life:
Bradthepainter met Ginsberg in ’86. Just a normal guy.
how would you paint a dark rock fireplace stark white ?
First, the primer is key. Masonry primer (on this post) and then you can paint with anything you like.
Good luck!